The process of creating a facsimile giclee
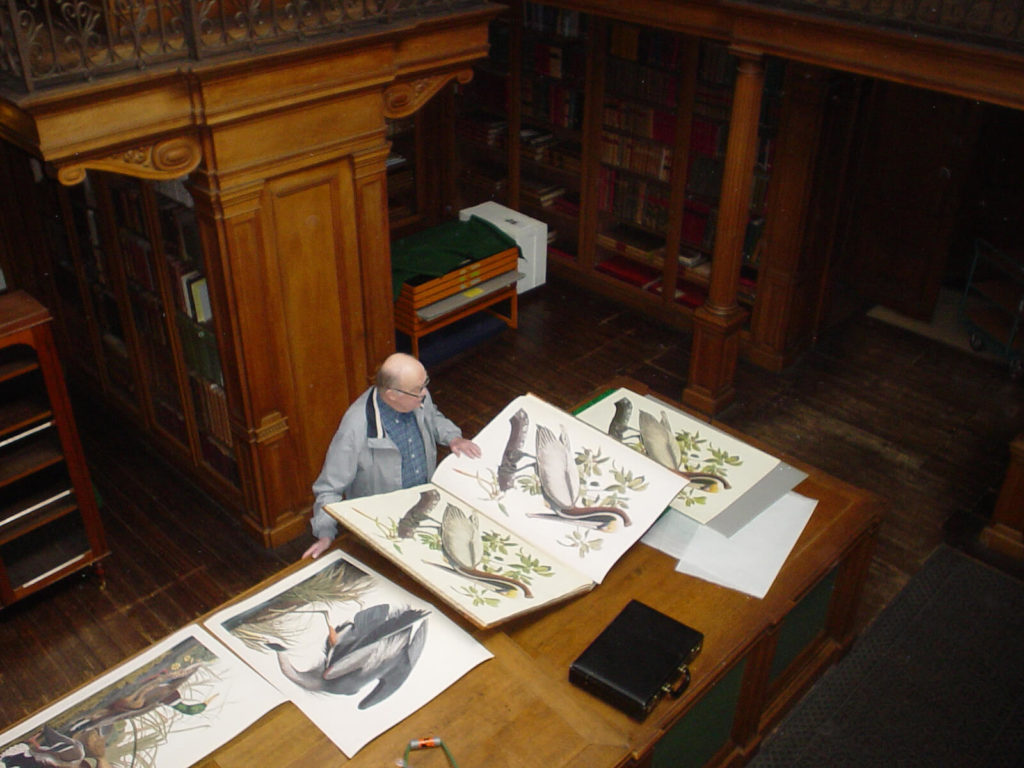
The process of creating a facsimile giclee print can be devided into 4 phases:
-
Digitalization of the original;
-
Retouching of the original;
-
Proofing, and
-
Printing the facsimile giclee.
Our prints are not posters, they are perfect facsimiles.
They are identical to the originals, and your response to them will be identical to your appreciation for the original great artworks.
1. Digitalization of the original
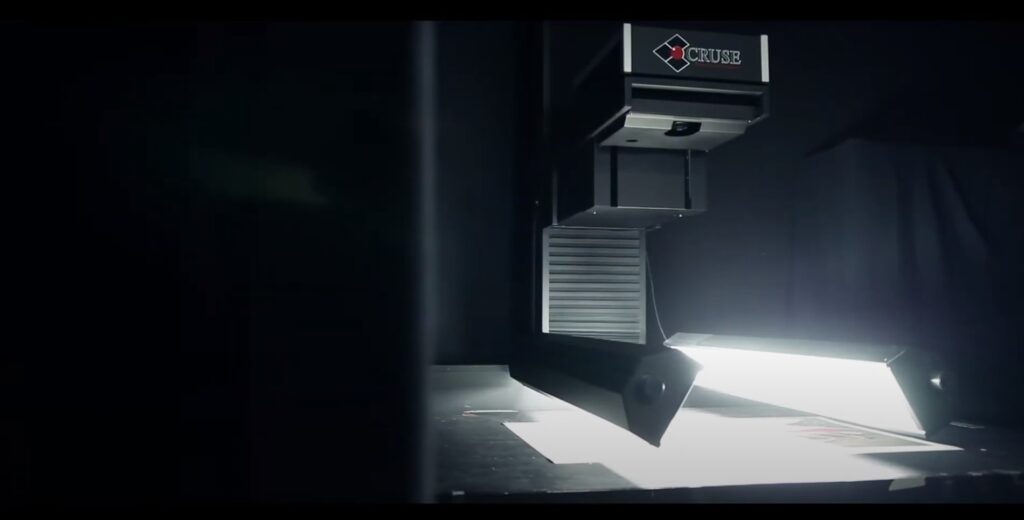
An extremely important phase in the process is the digitalization of the original.
To be able to achieve 100% accuracy in the facsimile, the input ratio must exactly match the output ratio and be exceptionally high in resolution. If we ultimately want to print with 2880 ink drops per inch, the pixels of the digital file are also necessary to prevent interpolation of pixels.
Re-Art uses a Cruse Fine Art Scanner
This scanning camera is state of the art when it comes to digitalization of originals. With its massive resolution of 308 megapixels and its perfect exposure, Cruse is capable of extremely accurate 1/1 digitalization of originals. The original is scanned under the lens and illuminated so that every millimeter receives exactly the same exposure.
The maximum range of the photographic color spectrum
By achieving an exceptionally good balance of white, grey and black, and by calibration and the application of color management, the maximum range of the photographic color spectrum is utilized.
It’s not for nothing that the major museums in the world also use these high quality fine art scanners.
Depending on the format and resolution, scanning of the original takes between 15 and 40 minutes.
2. Retouching of the original
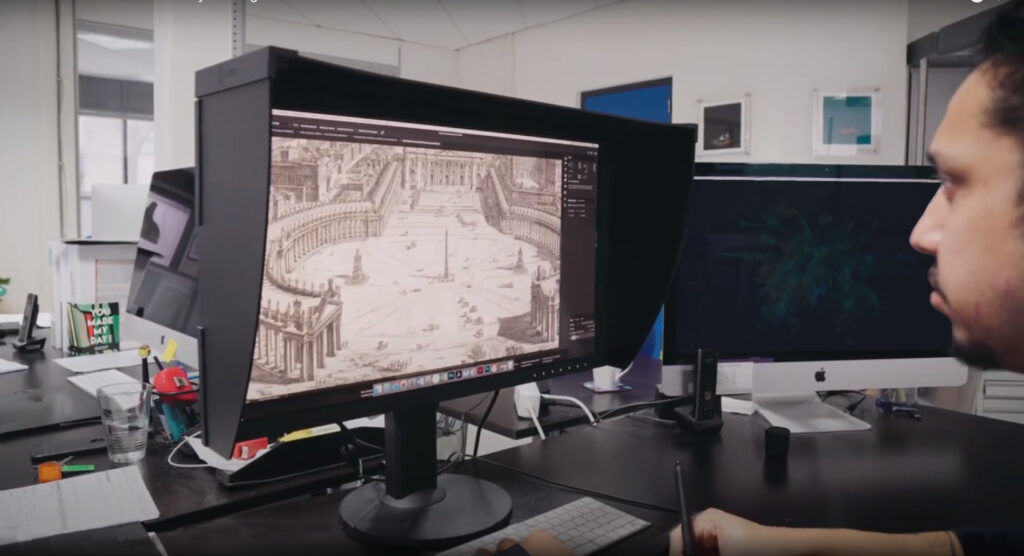
Despite excellent archiving and conservation of antique prints by museums, discoloration and damage can still occur in the original.
Small brown patches of acidification in the paper frequently appear, but also scratches on the stone or etching plate can be present. These are expertly digitally retouched, while maintaining the characteristics of the original.
In many cases, antique prints are hardbound, meaning that they cannot be digitalized while completely flat.
Any photographic deviations from the original are fully corrected digitally.
3. Proofing
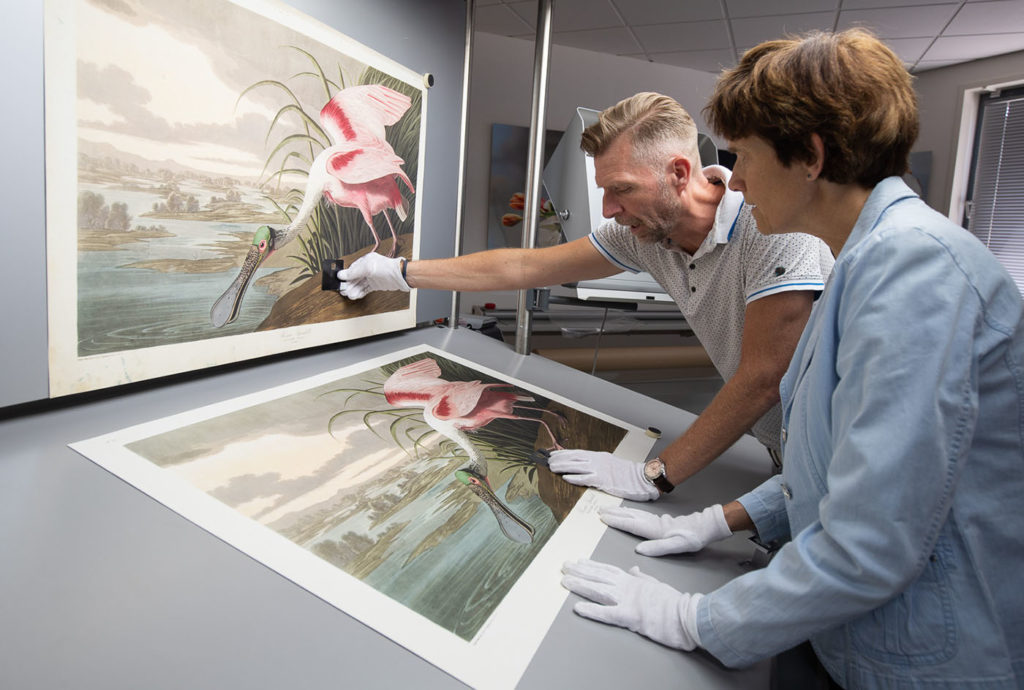
Alongside digitalization of the original, the proofing phase is extremely important.
It is here that the eye and expertise of the color lithographer is absolutely essential. His knowledge and skill ensures that the color of the facsimile is as close as possible to that of the original.
There may be pigments in the original which fall outside the photographic spectrum, or which bend due to the refraction of light and cannot be properly digitally recorded. The color lithographer finds solutions to this through applying various color corrections and making numerous color proofs.
In many cases, digital masks are created in order to save colors, whereby accurate corrections in color can be made.
The color lithographer creates the master file
Because the color lithographer works with the original, he can correct a color directly to that of the original. The knowledge of the conventional lithographer is applied digitally in this modern age, and is still of utmost value.
The proofs are produced on the print paper and, once it has the approval of the color lithographer, the master file is ready to start printing.
4. Printing the facsimile giclee
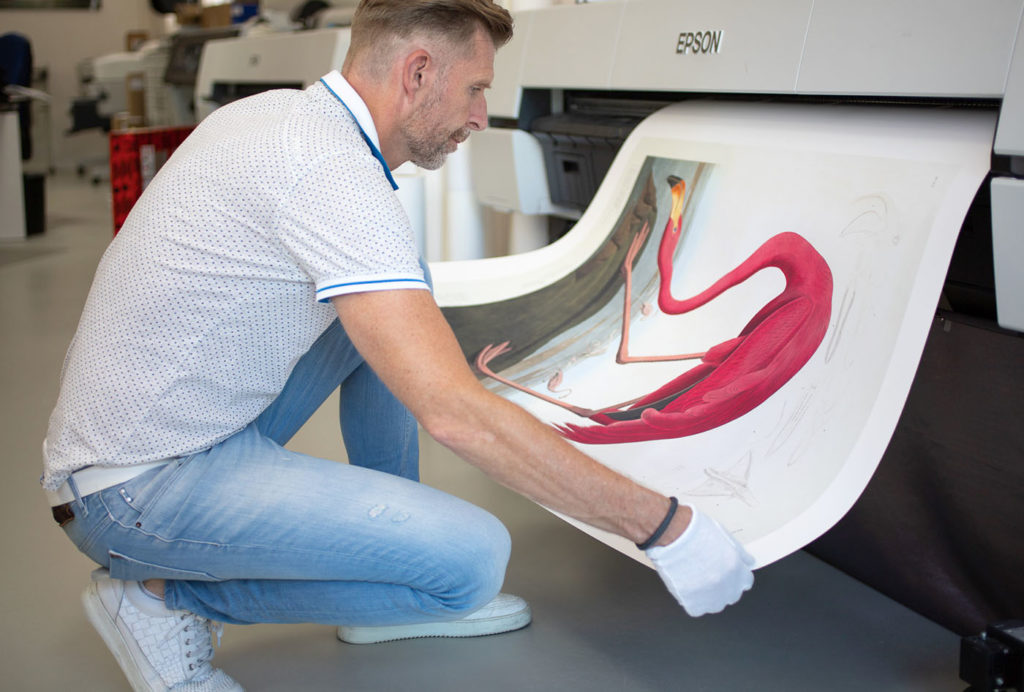
Once the digital master file has been prepared, printing can commence
We use Epson printers because the Piezo print technique is the only one which can actually squirt 2880 ink drops per inch on paper, whereby the facsimile prints are exceptionally sharp and detailed. The combination of the Epson printers and our high quality digital files enables us to achieve 100% reproduction of the original.
Time-consuming printing process
This means that the production of one single facsimile print is extremely time-consuming. On average is takes 25 to 45 minutes before one print is ready.
The combination of water-based archival inks and acid-free fine art paper ensures that the facsimile prints have a lifespan of 80 to 300 years. They are waterproof and do not discolor. The white etching paper gives the prints a velvety appearance.
Retouching by hand
After the printing has finished, the facsimile is thoroughly examined and if necessary retouched by hand with Faber Castel graphite pencils.
It can occur that a paper fiber comes loose. In some cases, including prints from the Middles Ages, the facsimilees are refined with gold or Arabic gum.
Certificate of authenticity and casing
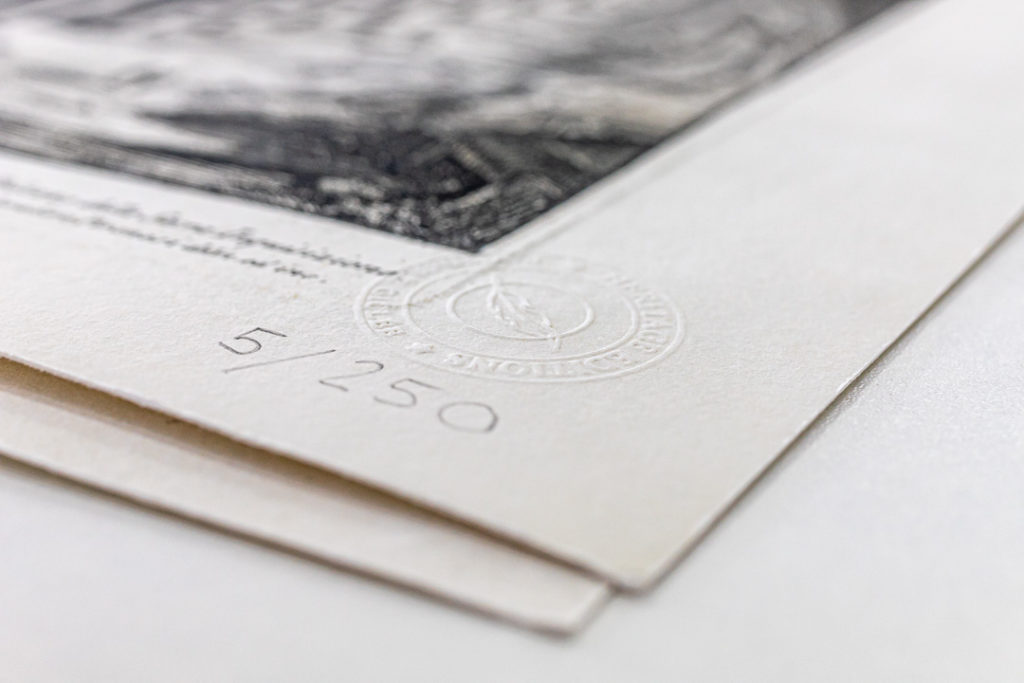
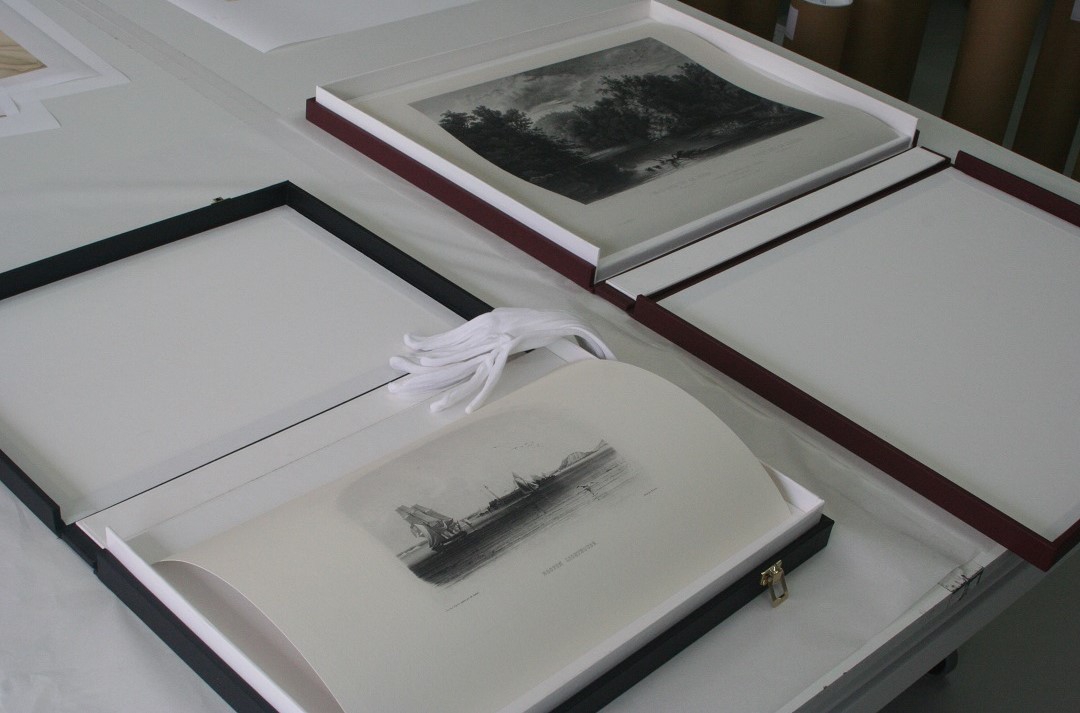
Once the facsimile giclee print is approved, it is embossed, numbered and issued with a certificate of authenticity, and is ready to take its place on the wall, in the museum or in an art collection.
We are proud to be an official supplier of the Audubonhouse Gallery in Key West since 2008.
Finally ready to take its place
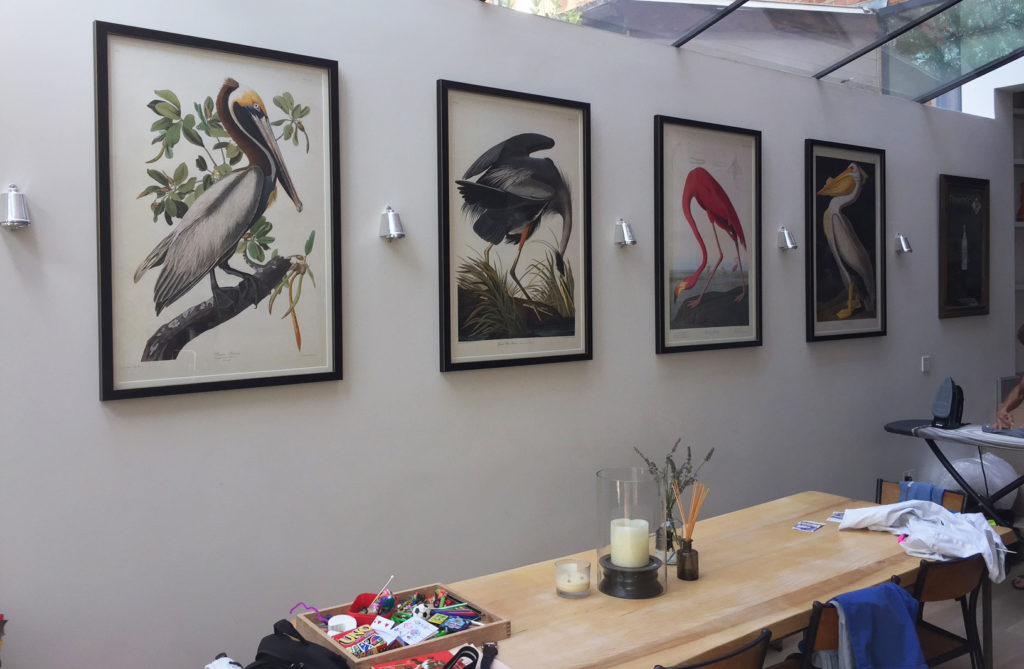
I got it framed immediately after I received it. Thank you again, it really makes me so so happy. "
